How To Create Your Own
Book Advent Calendar
by Jennifer Garry
One of my absolute favorite holiday traditions is our book advent calendar. Like the calendars that let you open a door and find a little chocolate treasure every day from December 1 through December 24, book advent calendars also serve as a countdown to Christmas. Only, instead of just popping a piece of chocolate in your mouth and moving on with your day, a book advent calendar means getting cozy with your family and reading a story every single night.
My family likes to curl up on the couch in front of the Christmas tree, the lights glowing and a special blanket tucked around us. It’s the perfect way to take a few minutes out of the busy holiday season and relax while spending some uninterrupted time together.
There are so many different ways to make a book advent calendar. The easiest way is collecting a bunch of books, leaving them in a designated spot and reading one each night. We like to kick it up a notch by wrapping all of the books so that we’re surprised by each night’s read — it’s like a little gift in itself!
Once they’re wrapped, you can stack them up to look like a tree or a snowman, you can add numbers and read the book that corresponds to the date, or you can simply plop them in a big basket. The possibilities are endless!
I want to share with you a simple method that we’re using to make our book advent calendar even more enjoyable. My oldest daughter came up with a fun way to select a book each night that makes the whole thing more special: using a little game spinner to help you choose.
Here’s how you can put the whole thing together.
Step 1: Collect Your Books
It’s important to remember that there is no “right” way to do this — except for the way that works for your family.
My family is not religious, so we don’t include religious books. We usually end up with a mixture of Christmas and winter-themed stories that are “just right” for us. Sometimes I throw in a couple of Chanukah books so we can talk about different traditions.
If your family is religious, you should absolutely add some books that bring religion into the conversation. And if your family celebrates both Christmas and Chanukah — or any other December holiday — use a little bit of everything!
We’ve collected our books from a variety of places: local bookstores, library sales, consignment shops, and more. Many of them were books that we already owned or that were gifted to us by friends and relatives.
Pro tip: I tuck these books away with our Christmas decorations so that they’re only pulled out in December. This makes them feel extra special and helps generate even more excitement when they’re unwrapped.
Step 2: Wrap Them Up
Once I have the books I’m using narrowed down (the titles you use might change from year to year as your kids grow), I choose four different styles of wrapping paper to deck them out in. I like to pick styles that coordinate — it looks prettier, which is a bonus since I keep them in a basket in my living room all month. I’ve used a mix of random wrapping paper prints in the past and it ended up looking messy.
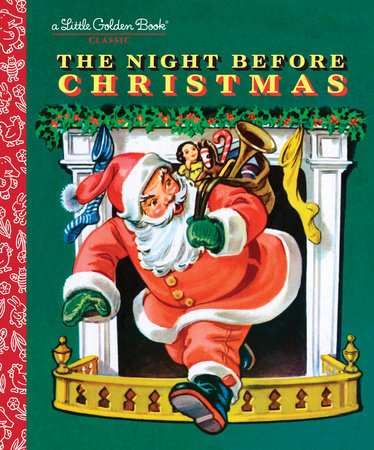
Before wrapping, I randomly split the books into four groups of six, taking Twas the Night Before Christmas out of its pile so that it can be wrapped in special paper and saved for Christmas Eve. Next, I wrap each group in a different style of paper.
Step 3: Get Your Spinner Ready
There’s an easy way to incorporate a spinner, and a way that’s a little extra. The easiest way is to use a game spinner that you already have (like a Twister spinner, which uses four different colors). If you use a pre-existing spinner, just be sure to use wrapping paper that matches up with the colors on it.

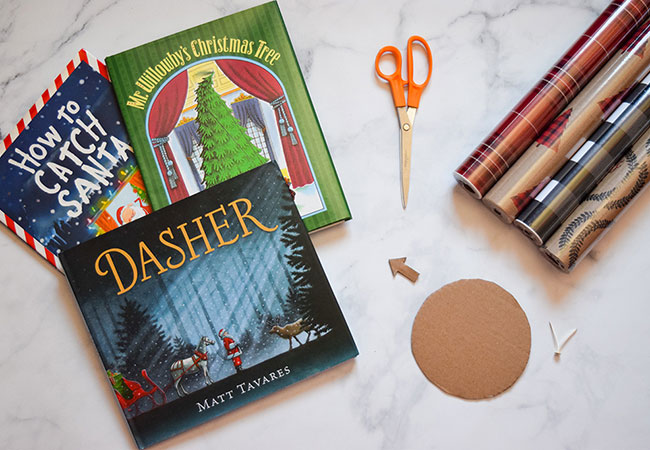
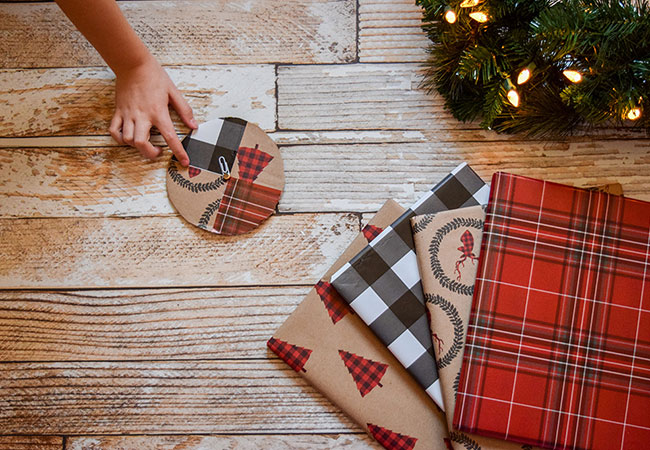
You can also make a spinner, which is much easier than it sounds. I used a bowl to trace a circle on a piece of cardboard (old cereal boxes or the box from a package ordered online will work). After cutting it out, I used a pencil to split it into quarters and then glued a piece of each style of wrapping paper to its own quarter. Next, I poked a hole through the center with a pencil and secured a paperclip to the top with a paper fastener. You can also create a little cardboard arrow.
Step 4: Spin and Read!
To figure out which book to read on a given night, just flick the paper clip and see which piece of wrapping paper (or what color) the spinner lands on. Choose any book from that style and get reading! My kids love inspecting the shape and size of the wrapped books and trying to guess which book might be inside.
Pro tip: If your kids are anything like mine, the choosing will become an elaborate affair. You might want to devise a way to decide in advance who gets to spin and/or choose the book to keep fighting to a minimum.
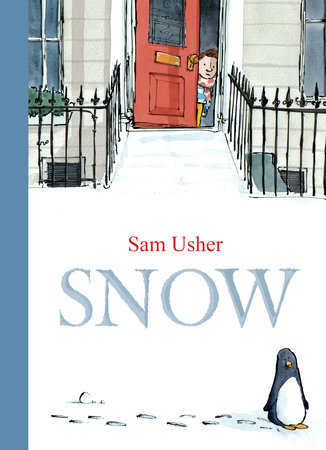
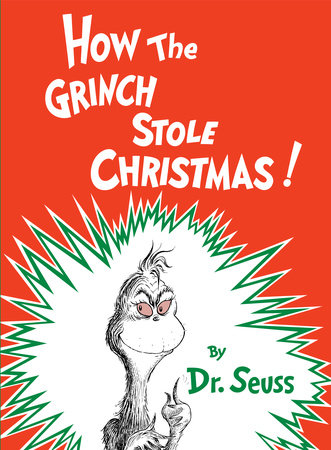
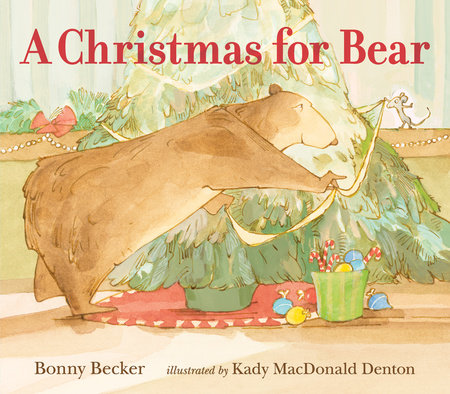
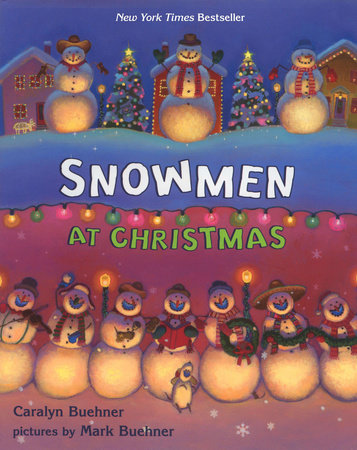
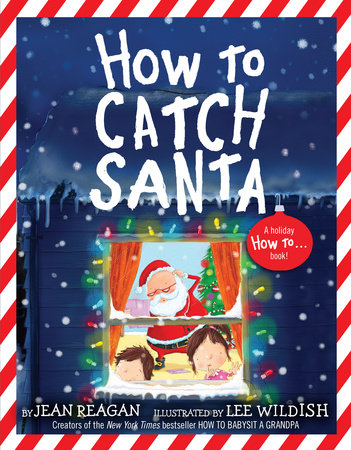
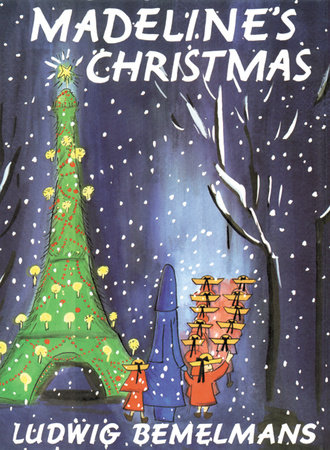
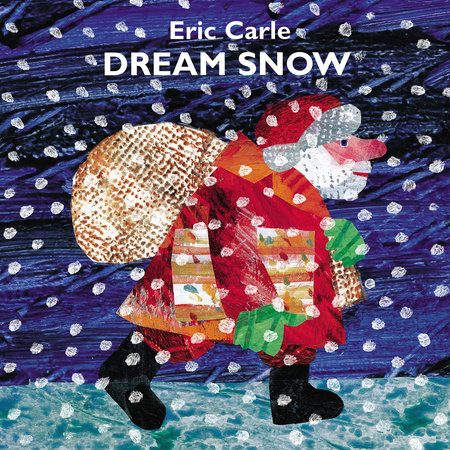
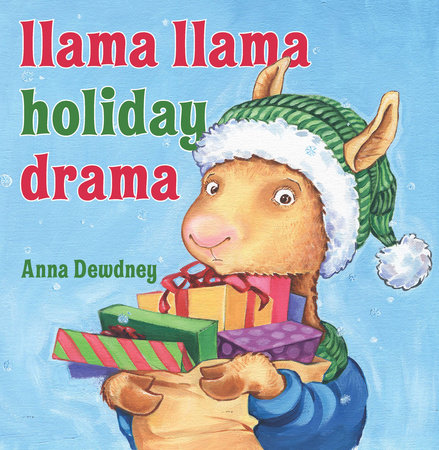
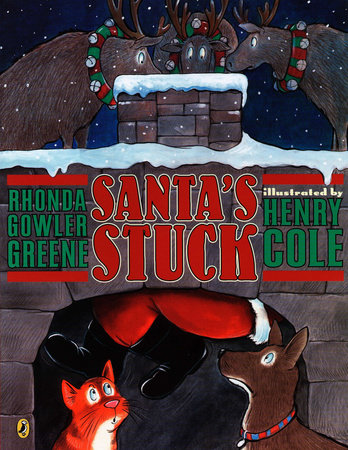
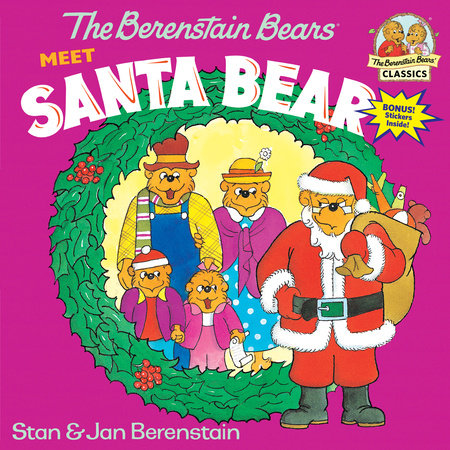
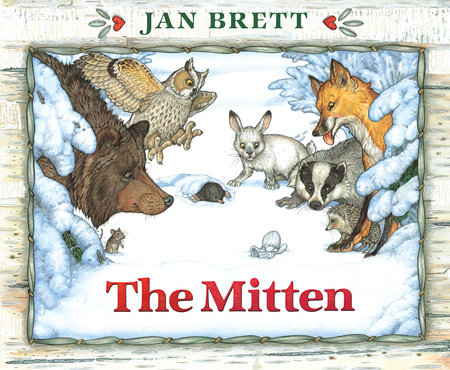
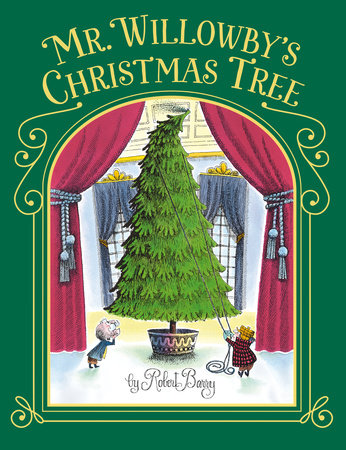
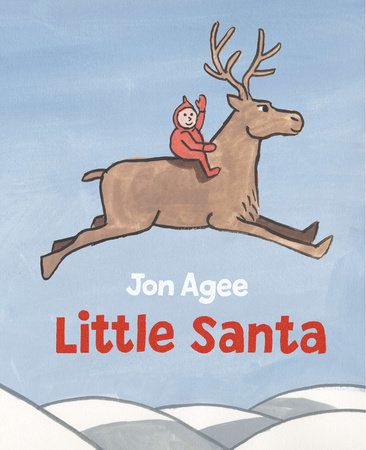
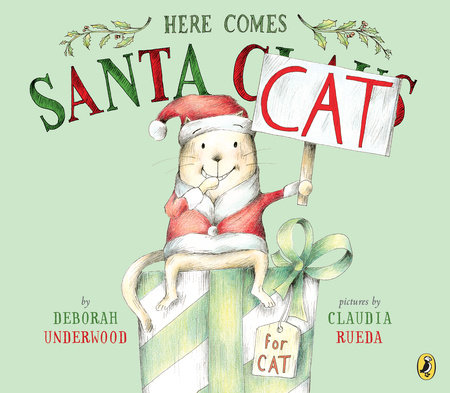
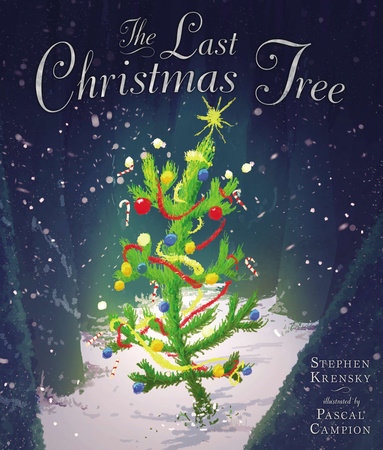
Here’s a list of 24 winter and Christmas-themed books to get you started:
-

-
-
-
-
-