Read It, Make It: Fall Books and a Colorful Craft
by Patricia J. Murphy
What’s not to love about fall? Crisp, cool breezes, colorful trees, and piles of leaves! To mark this awe-inspiring occasion, I’ve compiled a short list of seasonal must-reads and an autumn-themed craft to celebrate the many shapes and colors of fall!
-
Read It!
Read one of these fall favorites about changing seasons, trees, and leaves!
-

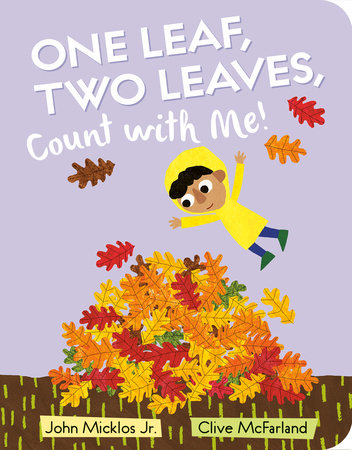
One Leaf, Two Leaves, Count with Me!
Buy from:This interactive counting book doubles as an observational journal for the four seasons. Readers can enjoy the sights of the changing seasons, the sounds of lyrical rhyming text, and count to 10 forward and backward. With each page turn, readers get pulled in by the bold graphics, mixed media illustrations, and adorable animal antics. Keep your eyes open so you don’t miss a thing. This gorgeous book offers a wonderful life lesson and a springboard to observing the four seasons all year long!
Buy from: -
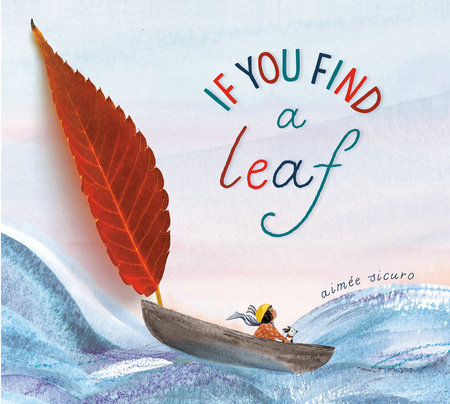
If You Find a Leaf
Buy from:If you’re lucky enough to find this book at your local bookstore or library, take a peek inside. Just like the story’s main character, the beauty, color, shape, and breadth of the leaves will sweep readers away! The imaginative tale and leafy activities in the back matter will motivate readers to create their own leaf-inspired art, leaf collection, or fall diorama!
Buy from: -
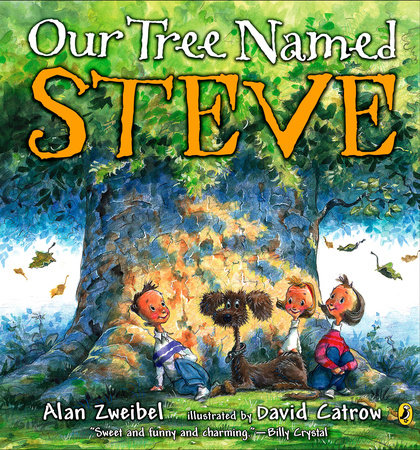
Our Tree Named Steve
Buy from:A Tree Named Steve is a love letter from a father to his children about a beloved tree. The parents save the tree when clearing land for their new house, and it becomes part of their family. Readers watch as “Steve” stands tall through the years, offering its branches for drying laundry, shade on hot summer days, and a seasonal backdrop for backyard parties and special occasions. This story of love, gratitude, and loss prompts readers to remember their own favorite trees.
Buy from:
MAKE IT!
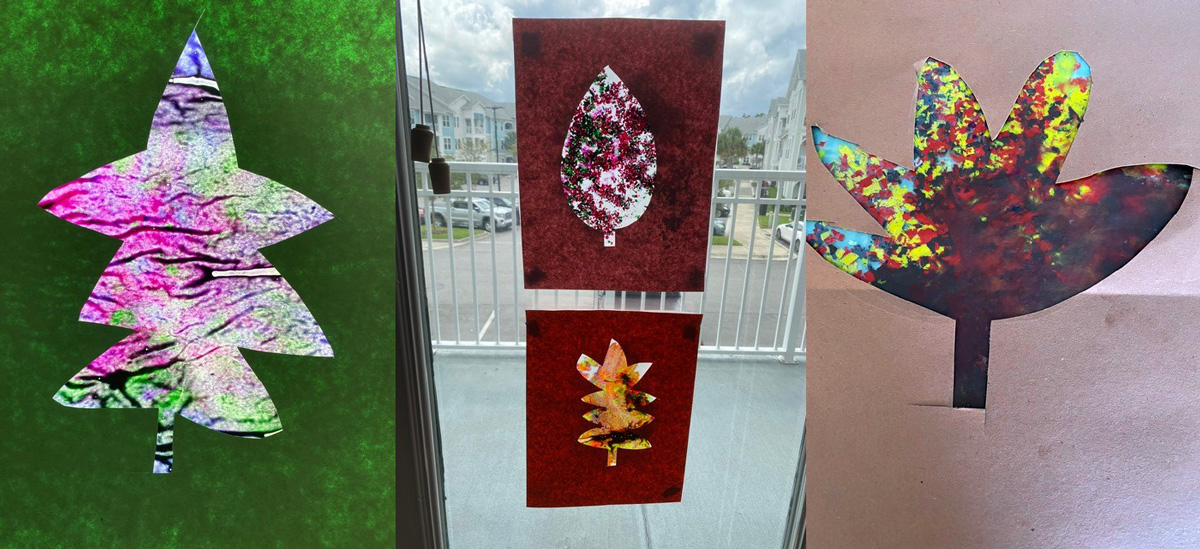
This fall leaf collage will immerse you in color — and leave you wanting to make more!
What you’ll need:
- Crayons (used crayons are the best for this!)
- Vegetable peelers (adult supervision recommended, or you can find kid-friendly peelers at your local retail store)
- Wax paper (cut in rectangles 8” x 11”)
- Iron and an ironing surface (adult supervision recommended)
- Construction paper in a variety of colors
- Pencils or markers
- Clear tape or a stapler with staples
- Old cloth towel or rag
- Leaves for inspiration and/or tracing
- Reusable, washable tablecloths to cover the crafting service and the floor. This will make cleanup a lot easier!
How to Make a Colorful Fall Leaf Collage:
Step 1. Assemble your supplies and clear space to create. Cover the creation surface and floor with reusable, washable tablecloths. (Trust me—this project gets messy!)
Step 2. Plug in an iron* and place it on an ironing board or safe surface. Start on a low or medium setting and increase the heat as desired. (Adults should use the iron for this project)
Step 3. Select several crayons and peel off their wrappers (collect the wrappers to recycle). Choose a variety of primary, complementary, fall-inspired, and favorite colors.
Step 4. Use scissors to cut wax paper into rectangles (8” x 11”). You will use two for each collage.
Step 5. Use a vegetable peeler* to create multiple crayon shavings, keeping them separated by color. Vary between long and short peeling motions. These actions will produce longer crayon shavings and smaller bead-like ones. (*Adults should use the peelers unless you have child-friendly peelers.)
Step 6. Arrange the wax crayon shavings in the center of one sheet of wax paper. Transport the shavings and sheet onto your ironing surface. Place another sheet of wax paper on top of the shavings. Line up the top piece of wax paper with the bottom one.
Step 7. Put an old towel over your wax paper/shaving creation. Then, place the iron face on top of the towel to melt the wax paper and crayon shavings together (only adults should use the iron). Use low to medium heat for speckled results or high heat to combine and blend the colors. Experiment with different color combinations and have fun.
Step 8. Set your changing leaves collage aside to cool, and continue to the next section to make a frame and assemble your craft.
How to Make a Frame for Your Collage:
Step 1. Take a piece of construction paper (9” x 12”) in a color that complements your color choices (e.g., red with green, yellow and purple, orange and blue, etc.) or one that highlights a color in the collage.
Step 2. Draw or trace a leaf shape in the center of the construction paper with a pencil. Cut out the leaf shape by cutting a slit in the leaf shape and continue to cut out the rest of the leaf. Flip over the paper, so the side with no pencil marks is showing.
Step 3. Place your leaf frame on top of your collage. Secure the frame to your collage at all four corners with transparent tape or staples. If desired, cut up your color collage to make several framed creations.
Step 4. Display your creations on windows to let the fall’s sunlight or moonlight shine through–or hang them anywhere you wish (e.g., bedroom door, refrigerator, or on your favorite tree as a “thank you” note).
Keep the Colorful Creativity Going
Create collages with various colors. Let them cool and cut into leaf shapes. Use them as bookmarks, decorations, or gift tags. Also, step outside to enjoy the beauty of fall, get inspired, collect leaves, and create all kinds of things!
Keep the Earth in Mind
Buy compostable brands. Reuse crayon pieces and wax paper scraps for other art projects. Recycle crayon wrappers, too. Also, check your local guidelines for disposing of wax paper.